7 Family Science Experiments to Spark Curiosity
Introduction
Sparking Curiosity Through Family Science
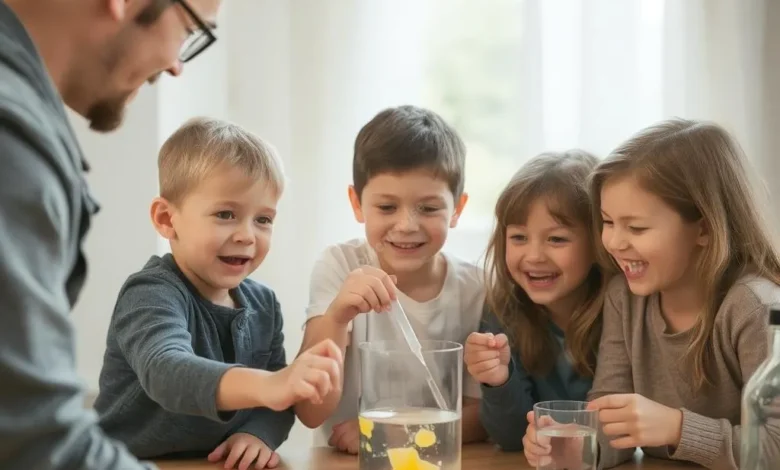
Did you know that kids who do hands-on science at home are more likely to love STEM subjects later in life? That’s right – family science experiments can shape your child’s future!
Why Try Science Experiments at Home?
As parents, we’re always on the lookout for activities that are both fun and educational. Family science experiments tick both these boxes perfectly. They offer:
- A chance to learn together
- Fun ways to spark curiosity
- Opportunities to think critically
- Moments to create lasting memories
What’s in This Article?
Get ready to turn your kitchen or backyard into a mini lab! We’ll explore 7 easy and engaging at-home science activities for kids. These experiments are perfect for educational family fun, no matter your child’s age.
From erupting volcanoes to invisible ink, we’ve got something for everyone. So, put on your lab coats and safety goggles – it’s time to unleash your inner scientists!
Preparing for Family Science Experiments
Before we dive into our exciting experiments, let’s cover some essential preparation tips. This will ensure your family has a safe and enjoyable experience with these at-home science activities for kids.
Safety First
When conducting family science experiments, safety should always be your top priority. Here are some key points to remember:
- Always supervise children during experiments
- Wear safety goggles when handling chemicals or projectiles
- Use heat-resistant gloves for experiments involving hot materials
- Keep a first aid kit nearby
- Conduct experiments in a well-ventilated area
Basic Equipment Needed
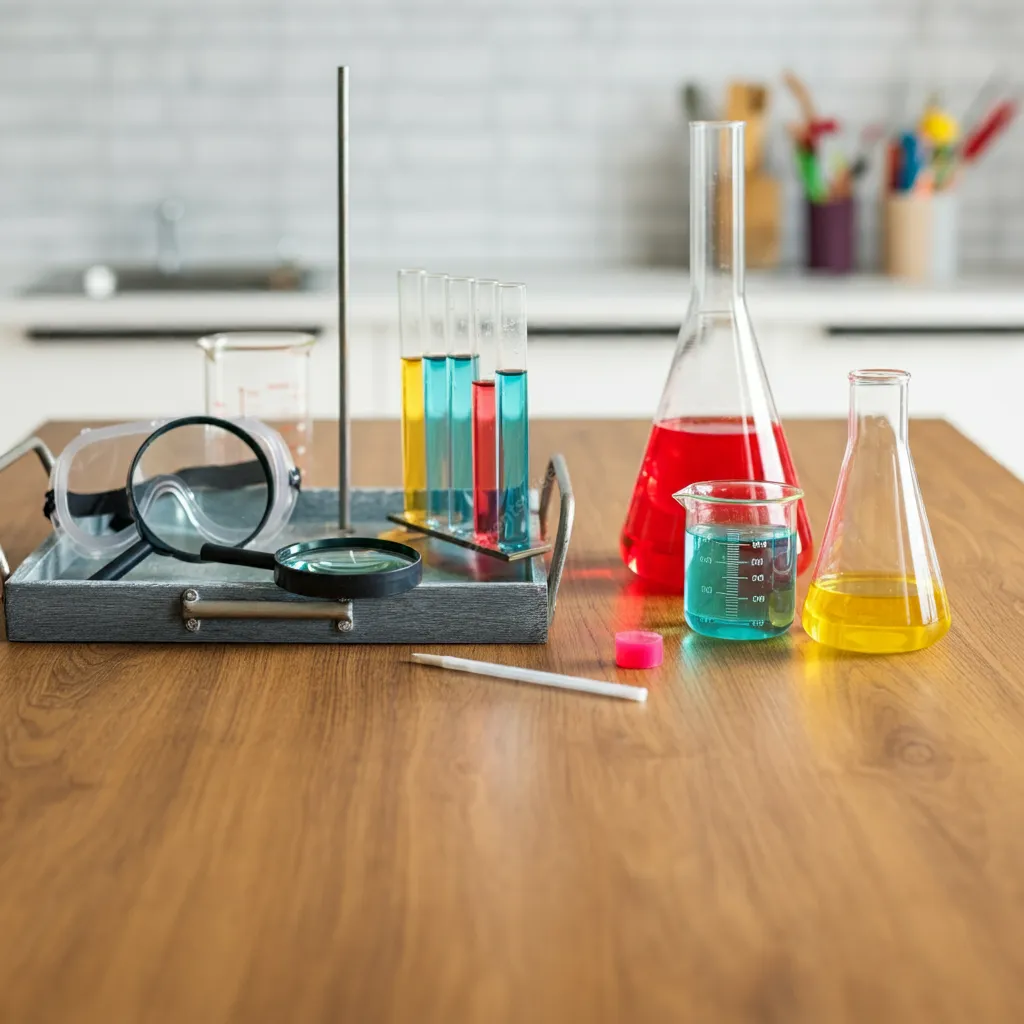
Most of these experiments use common household items, but here’s a short list of basic equipment that will come in handy:
- Measuring cups and spoons
- Clear glass jars or plastic containers
- Paper towels or cloths for cleanup
- A large tray or baking sheet to contain messes
- Safety goggles (can be found at most dollar stores)
Engaging Children of Different Ages
Family science experiments can be fun for kids of all ages, but you might need to adjust your approach. Here are some tips:
- For younger children: Focus on the sensory aspects of experiments. Let them touch (safe) materials and describe what they see.
- For school-age kids: Encourage them to make predictions and record observations in a “lab notebook.”
- For teenagers: Challenge them to research the scientific principles behind each experiment and explain them to the family.
Remember, the goal is to make these at-home science activities for kids engaging and fun for the whole family. Don’t worry too much about getting everything “right” – the process of exploration and discovery is what’s most important.
Experiment 1: The Volcano Eruption
Create Your Own Erupting Volcano!
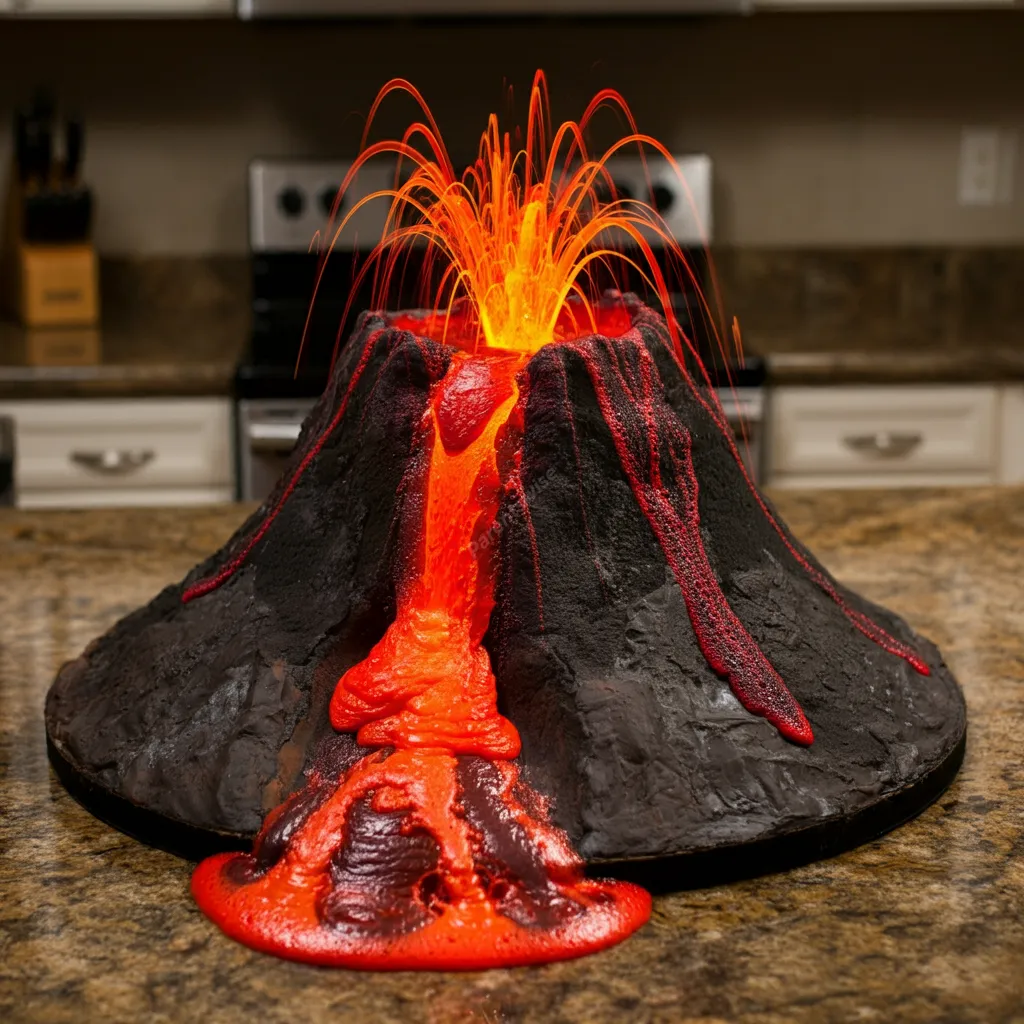
This classic family science experiment never fails to amaze kids and adults alike. Let’s dive into the world of volcanology right in your kitchen!
Materials Needed:
- Empty plastic bottle (500ml or larger)
- Baking soda (about 4 tablespoons)
- Vinegar (about 1 cup)
- Red food coloring
- Dish soap (a squirt)
- Warm water
- Tray or baking sheet
- Optional: Clay or playdough to build the volcano shape
Step-by-Step Instructions:
- Place the empty bottle on a tray or baking sheet.
- If using, mold clay or playdough around the bottle to create a volcano shape. Leave the bottle opening clear.
- In the bottle, add:
- 4 tablespoons of baking soda
- A few drops of red food coloring
- A squirt of dish soap
- About 1/4 cup of warm water
- Stir the mixture gently.
- In a separate cup, mix 1 cup of vinegar with a little warm water.
- When ready to erupt, pour the vinegar mixture into the bottle and step back!
The Science Behind the Eruption
This exciting reaction demonstrates an acid-base interaction. When the acidic vinegar meets the basic baking soda, they create a chemical reaction that produces carbon dioxide gas. This gas creates pressure inside the bottle, pushing the foamy mixture out in an “eruption.”
The dish soap helps create bigger, longer-lasting bubbles, while the food coloring makes it look more like real lava.
Age Group and Variations
This experiment is suitable for all ages, but younger children will need more supervision.
- For younger kids (3-6): Focus on the sensory experience. Let them help mix colors or mold the “volcano.”
- For older kids (7-12): Encourage them to measure ingredients and predict what will happen.
- For teenagers: Challenge them to research real volcanic eruptions and compare them to this model.
Variation idea: Try using different “crater” shapes or adding glitter to your “lava” for extra sparkle!
Experiment 2: Walking Water Rainbow
Create a Colorful Water Bridge!
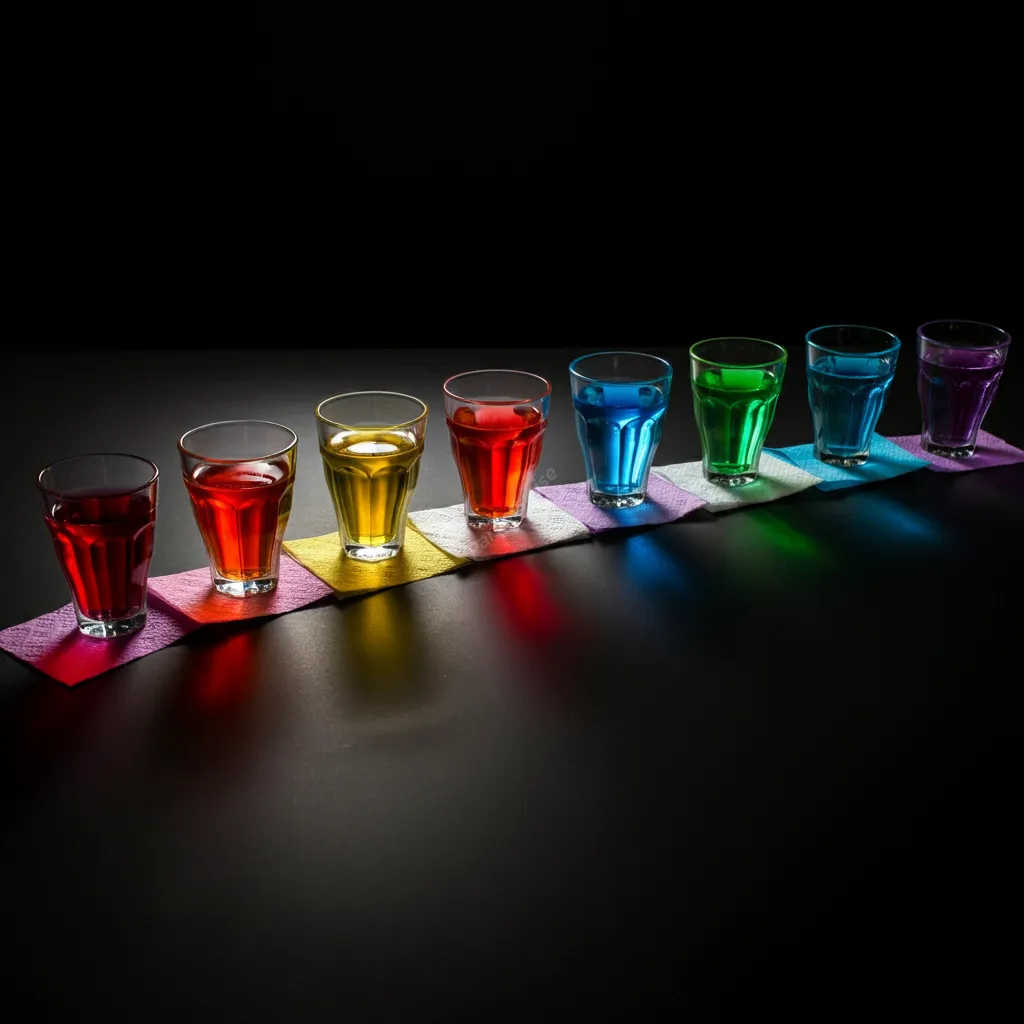
This fascinating experiment demonstrates how water can “walk” and creates a beautiful rainbow effect. It’s a perfect blend of science and art for your family science experiments.
Materials Needed:
- 7 clear glasses or jars
- Paper towels
- Food coloring (red, yellow, and blue)
- Water
Step-by-Step Instructions:
- Arrange the 7 glasses in a row.
- Fill the 1st, 3rd, 5th, and 7th glasses about 3/4 full with water.
- Add red food coloring to the 1st glass, yellow to the 3rd, and blue to the 5th. Leave the 7th glass with clear water.
- Take 6 paper towel strips. Fold each in half lengthwise, then in half again.
- Place one end of a paper towel strip into a colored glass and the other end into the empty glass next to it, forming a bridge. Do this for all glasses.
- Watch as the water “walks” up the paper towels and colors mix!
Scientific Concepts Explained
This experiment demonstrates two key scientific principles:
- Capillary Action: This is the ability of water to flow against gravity in narrow spaces. The paper towel fibers act like tiny straws, pulling the water upwards.
- Color Mixing: As the different colored waters meet in the empty glasses, they mix to create new colors. This is a great way to teach primary and secondary colors.
Extending the Experiment
- Predict what colors will appear in the empty glasses. Will they match your predictions?
- Try different color combinations or use more glasses for a larger rainbow.
- Time how long it takes for the water to completely “walk” across the paper towels.
- Discuss real-world applications of capillary action, like how plants draw water from their roots to their leaves.
This at-home science activity for kids not only teaches important scientific concepts but also creates a visually stunning result. It’s a great way to combine science and art in your family experiments.
Experiment 3: Invisible Ink
Reveal Hidden Messages with Science!
This exciting experiment introduces children to the world of chemical reactions while adding an element of mystery and fun to your family science experiments.
Materials Needed:
- Lemon juice
- Water
- Bowl
- Cotton swab or small paintbrush
- White paper
- Lamp or other heat source (adult supervision required)
Step-by-Step Instructions:
- Mix equal parts lemon juice and water in a bowl.
- Dip a cotton swab or small paintbrush into the mixture.
- Write a message or draw a picture on the white paper using the lemon juice solution.
- Let the paper dry completely. The message will become invisible.
- To reveal the message, carefully hold the paper near a lamp bulb or other heat source.
- Watch as your secret message appears!
Chemical Reaction Explanation
The science behind this invisible ink is all about oxidation. Lemon juice contains carbon compounds. When you apply heat, these compounds break down and react with the oxygen in the air. This oxidation process turns the dried lemon juice brown, making your message visible.
It’s similar to what happens when you leave a sliced apple out – the fruit turns brown as it oxidizes. In this case, we’re speeding up the process with heat.
Fun Family Activity Ideas
Turn this experiment into an exciting family game:
- Secret Message Scavenger Hunt: Hide clues written in invisible ink around the house or garden.
- Spy Game: Create coded messages for each other to decipher.
- Invisible Ink Art Gallery: Make drawings with invisible ink and have a reveal party.
- Historical Connection: Discuss how invisible ink was used in history, like during wars or by ancient civilizations.
Safety Note: Always supervise children when using heat sources. As an alternative to a lamp, you can use a hair dryer on its lowest setting or iron on low heat (with adult handling).
This at-home science activity for kids combines chemistry with creativity, making it a perfect addition to your family science experiments. It’s a great way to spark curiosity about chemical reactions while having fun together.

Experiment 4: Balloon-Powered Car
Race into Physics with Your Own Mini-Vehicle!
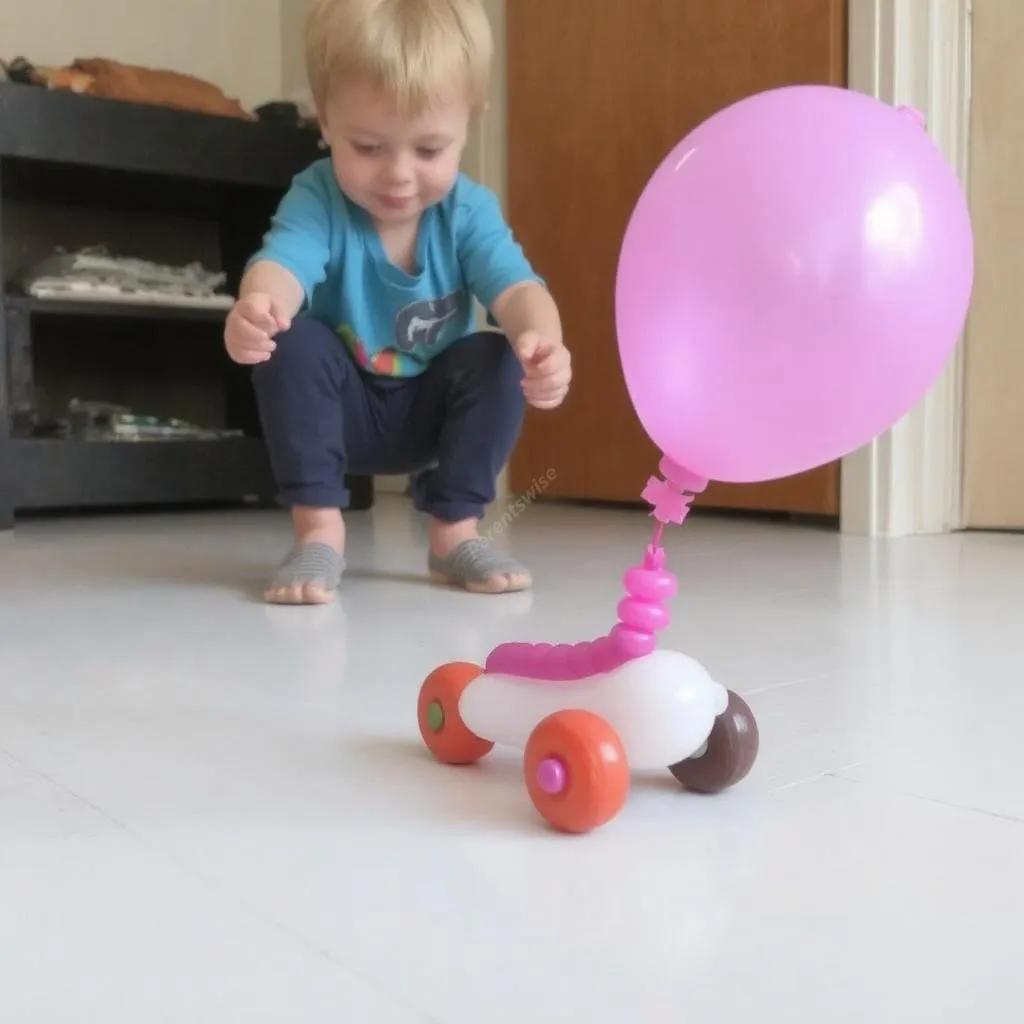
Get ready to combine engineering and physics in this exciting family science experiment. You’ll create a car that moves using nothing but air power!
Materials Needed:
- Empty plastic bottle (for the car body)
- 4 bottle caps (for wheels)
- 2 wooden skewers or straws (for axles)
- Balloon
- Tape
- Scissors (adult supervision required)
- Optional: markers or stickers for decoration
Construction Instructions:
- Cut four small slits in the bottle – two near the front and two near the back – to hold the axles.
- Push the skewers or straws through these slits to create axles.
- Attach bottle caps to the ends of the axles as wheels. Secure with tape if needed.
- Cut a small hole in the bottle cap of the plastic bottle, just big enough for the balloon neck to fit through.
- Push the balloon through this hole, with most of the balloon inside the bottle.
- Tape around the neck of the balloon to create an airtight seal.
- Decorate your car if desired.
How to Make It Go:
- Blow up the balloon through the bottle opening.
- Place your car on a smooth surface.
- Let go and watch it zoom off!
Physics Principles Involved
This experiment demonstrates Newton’s Third Law of Motion: For every action, there is an equal and opposite reaction.
When you release the balloon, the air rushes out of the bottle opening (action). This creates a force pushing the car in the opposite direction (reaction), making it move forward.
It also introduces concepts like:
- Thrust: The force that moves the car forward
- Friction: The force that slows the car down
- Energy conversion: From potential energy (in the stretched balloon) to kinetic energy (the moving car)
Suggestions for Racing and Modifying
- Race Track: Create a race track with start and finish lines. Time how long it takes your car to complete the course.
- Distance Challenge: See whose car can travel the farthest. Mark each car’s stopping point with tape.
- Modifications:
• Try different balloon sizes
• Adjust the weight of the car by adding or removing materials
• Change the size or material of the wheels
• Experiment with the angle of the balloon - Scientific Method: Encourage older kids to form hypotheses about how modifications will affect the car’s performance, then test their ideas.
This at-home science activity for kids brings physics to life in a fun, hands-on way. It’s a fantastic opportunity for family science experiments that combine creativity, engineering, and scientific principles.
Experiment 5: Homemade Lava Lamp
Create a Groovy, Bubbly Light Show!
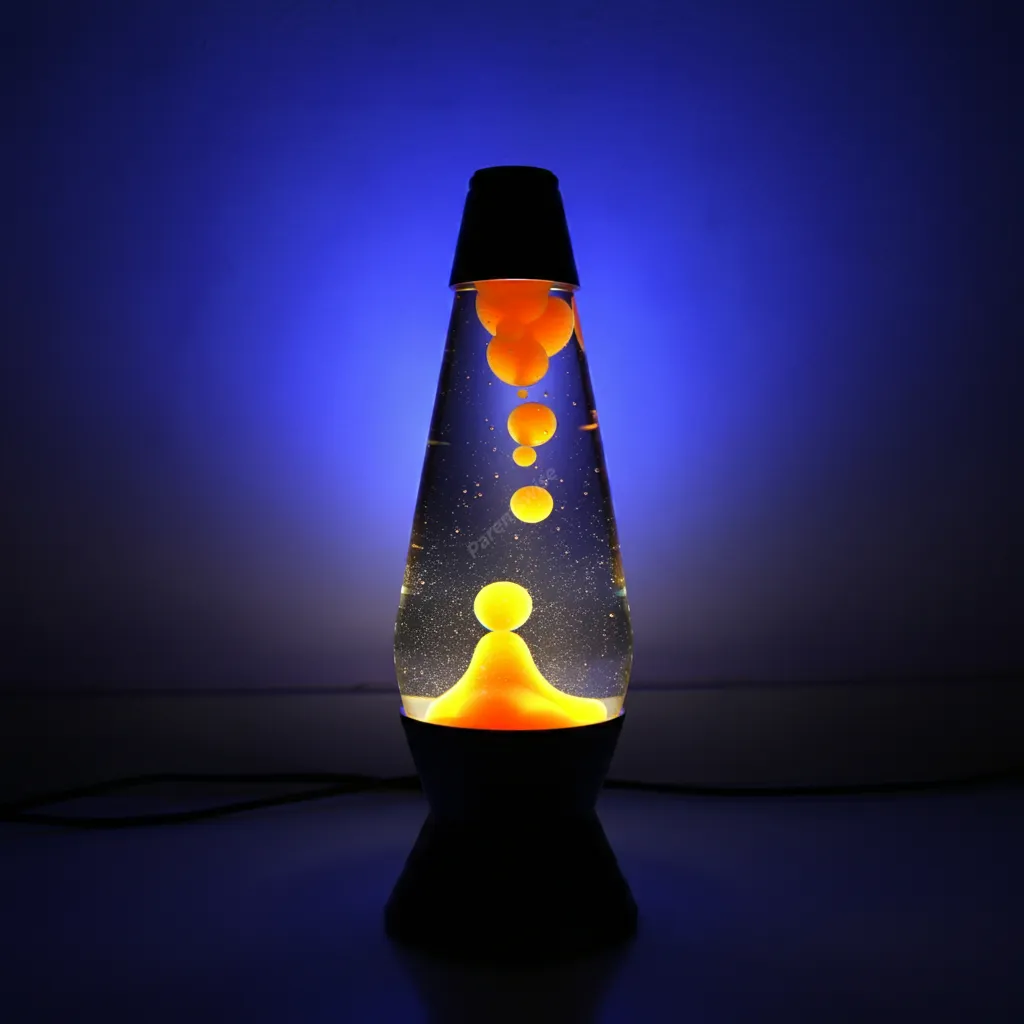
This captivating experiment brings the 1970s right into your living room while teaching important concepts about density and polarity. It’s a visually stunning addition to your family science experiments.
Materials Needed:
- Clear plastic or glass bottle (1-liter size works well)
- Water
- Vegetable oil
- Food coloring
- Effervescent tablets (like Alka-Seltzer)
- Flashlight
Step-by-Step Instructions:
- Fill the bottle about 1/4 full with water.
- Add a few drops of food coloring to the water.
- Slowly pour vegetable oil into the bottle until it’s nearly full. Leave a small space at the top.
- Wait for the oil and water to separate completely.
- Break an effervescent tablet into 4 pieces.
- Drop one piece into the bottle and watch the magic happen!
- When the bubbling slows, add another piece.
- For extra effect, shine a flashlight through the bottle in a darkened room.
Explanation of Density and Polarity
This experiment demonstrates two key scientific concepts:
- Density: Oil is less dense than water, so it floats on top. The colored water sinks to the bottom.
- Polarity: Water molecules are polar (one end has a slight positive charge, the other a slight negative). Oil molecules are non-polar. This is why they don’t mix – “like dissolves like” in chemistry.
When you add the tablet, it sinks and reacts with the water, creating gas bubbles. These bubbles are less dense than both liquids, so they rise, carrying some colored water with them. When the bubbles reach the surface and pop, the water sinks back down.
Tips for Creating Different Color Combinations
- Layer colors: Add different colored water in layers for a rainbow effect.
- Glow-in-the-dark: Use tonic water instead of regular water. The quinine in tonic water glows under black light!
- Seasonal themes: Use colors to match holidays or seasons (e.g., orange and black for Halloween).
- Color mixing: Start with primary colors and watch them mix as the lamp bubbles.
Safety Note: This lava lamp is for observation only. Never drink the contents or leave it unattended with young children.
This at-home science activity for kids combines visual appeal with important scientific principles. It’s a great way to discuss concepts like density and polarity while creating a mesmerizing display. Your homemade lava lamp can serve as a continuing conversation piece, sparking curiosity about the world of chemistry.
Experiment 6: Crystal Growing
Grow Your Own Sparkling Gems!
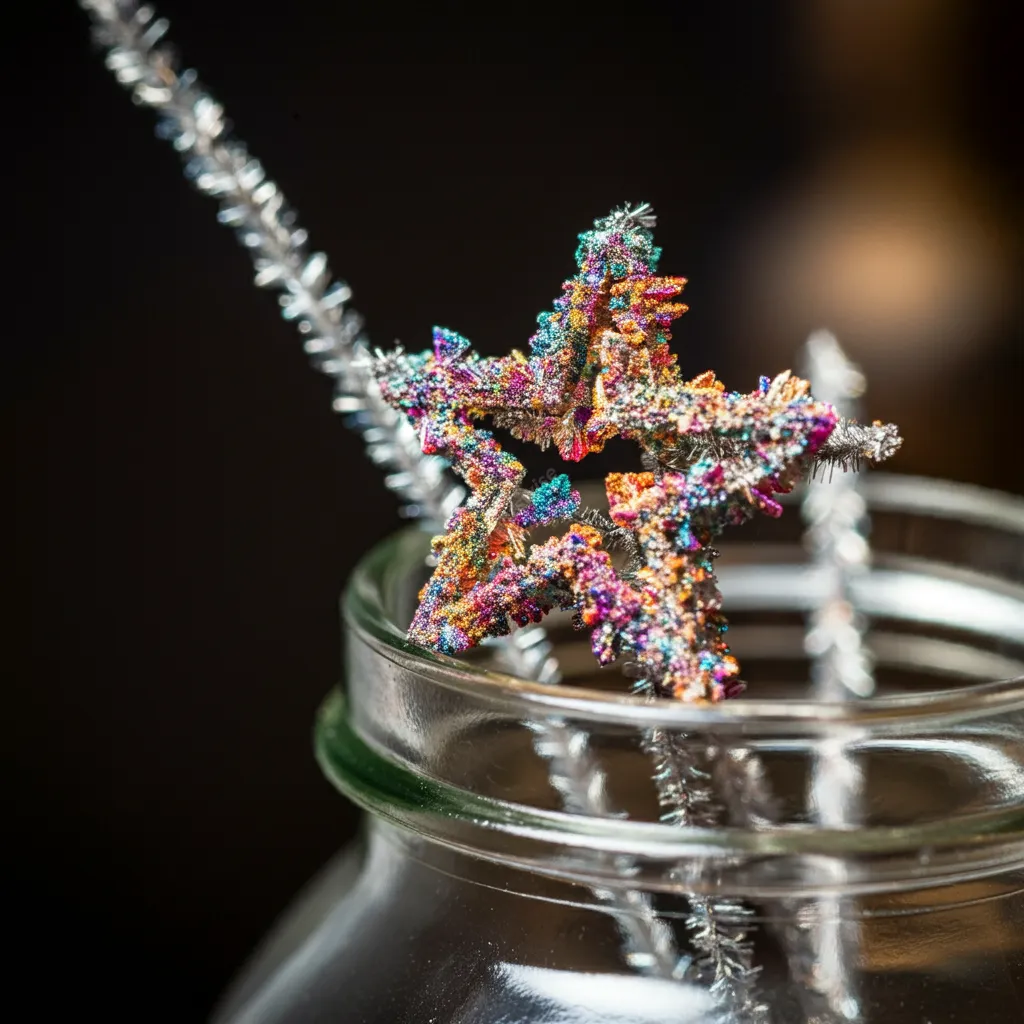
This fascinating experiment allows your family to witness the beautiful process of crystallization right before your eyes. It’s a perfect blend of chemistry and art in your family science experiments.
Materials Needed:
- Borax powder (found in the laundry aisle)
- Wide-mouth jar
- Hot water (adult supervision required)
- Pipe cleaners or string
- Pencil or stick
- Food coloring (optional)
Step-by-Step Instructions:
- Bend a pipe cleaner into a shape (like a star or heart) that will fit inside the jar.
- Tie the shape to a pencil so it hangs down into the jar without touching the bottom or sides.
- Remove the pipe cleaner and set aside.
- Fill the jar with hot water (adult task).
- Add borax powder, stirring until no more will dissolve (about 3 tablespoons per cup of water).
- Add food coloring if desired.
- Lower the pipe cleaner shape into the solution, resting the pencil across the jar opening.
- Place the jar somewhere it won’t be disturbed.
- Check your crystals after 24 hours. They may continue to grow for several days.
Scientific Process Explained
This experiment demonstrates supersaturation and crystallization:
- Supersaturation: When you dissolve borax in hot water, you create a supersaturated solution – it contains more dissolved solute (borax) than is normally possible at room temperature.
- Crystallization: As the solution cools, it can no longer hold all the dissolved borax. The excess borax begins to come out of solution, forming crystals on the pipe cleaner, which acts as a “seed” for crystal growth.
Ideas for Different Shapes and Colors
- Shapes: Try creating geometric shapes, letters, or even 3D structures with pipe cleaners.
- Colors: Experiment with different food coloring combinations. You can even create a rainbow effect by hanging multiple colored shapes in one jar.
- Natural objects: Try growing crystals on small rocks or shells for a unique look.
- Geode effect: Line the bottom of a clean eggshell half with crystals.
Safety Note: Borax is safe for this experiment but should not be ingested. Adult supervision is required for handling hot water and borax.
This at-home science activity for kids offers a wonderful opportunity to observe chemical processes in action. It teaches patience too, as the best crystals often take several days to form. The resulting crystal creations can serve as beautiful decorations or gifts, adding an artistic element to your family science experiments.
Experiment 7: DIY Solar Oven
Harness the Power of the Sun to Cook!
This experiment introduces your family to the concept of renewable energy while demonstrating how we can use the sun’s power for everyday tasks. It’s a practical and eye-opening addition to your family science experiments.
Materials Needed:
- Pizza box or similarly sized cardboard box
- Aluminum foil
- Black construction paper
- Plastic wrap
- Scissors (adult supervision required)
- Tape
- Ruler
- Stick or wooden spoon
Construction Instructions:
- Cut a flap in the lid of the pizza box, leaving about an inch border around three sides.
- Cover the inner side of this flap with aluminum foil, smoothing out any wrinkles.
- Line the bottom of the box with black construction paper.
- Create a “window” by taping two layers of plastic wrap across the opening you cut in the lid, sealing tightly.
- Use the stick to prop the reflector flap open.
How Solar Energy Works
This simple oven demonstrates several principles of solar energy:
- Reflection: The aluminum foil reflects sunlight into the box.
- Absorption: The black paper absorbs heat from the sunlight.
- Greenhouse effect: The plastic wrap allows sunlight to enter but traps heat inside, similar to Earth’s atmosphere.
As sunlight enters the box, it’s converted to heat energy. The trapped heat slowly increases the temperature inside the box, creating an oven-like environment.
Suggestions for Foods to Cook
Your solar oven can reach temperatures between 160-200°F (71-93°C) on a sunny day. Here are some foods you can try:
- S’mores: Place graham crackers topped with chocolate and marshmallows inside.
- Nachos: Sprinkle cheese over tortilla chips.
- Pizza bagels: Top a bagel half with sauce and cheese.
- Apple slices with cinnamon: A healthier option that smells great!
Safety Notes:
- Always use oven mitts when handling food from the solar oven.
- Use a food thermometer to ensure foods reach safe temperatures.
- Never leave the solar oven unattended while in use.
Extension Ideas:
- Compare cooking times on sunny vs. cloudy days.
- Experiment with different box sizes or reflective materials.
- Discuss other applications of solar energy in daily life.
This at-home science activity for kids not only teaches about renewable energy but also encourages thinking about sustainable living. It’s a hands-on way to explore how we can use natural resources creatively in our everyday lives.

Conclusion
Igniting a Lifelong Love for Science
Congratulations! You’ve just embarked on an exciting journey through seven engaging family science experiments. By now, your kitchen, backyard, or living room has likely transformed into a vibrant laboratory of discovery and fun.
Recap of Benefits
Let’s revisit why these at-home science activities for kids are so valuable:
- Hands-on Learning: These experiments bring scientific concepts to life, making them tangible and memorable.
- Critical Thinking: Each activity encourages observation, prediction, and analysis – key skills for budding scientists.
- Family Bonding: Sharing in the excitement of discovery strengthens family relationships.
- Curiosity Cultivation: These experiments spark questions and inspire further exploration.
- Real-World Connections: Many of these activities relate to everyday phenomena, helping children understand the world around them.
Continuing Your Scientific Adventure
The experiments we’ve explored are just the beginning. Science is all around us, waiting to be discovered. Here are some ways to keep the scientific spirit alive in your family:
- Make it Routine: Set aside a regular “Science Saturday” or “Experiment Evening” each week or month.
- Follow Interests: Let your children’s questions guide your next experiments. “Why is the sky blue?” could lead to a light refraction experiment!
- Document Discoveries: Encourage kids to keep a science journal, drawing or writing about their observations.
- Connect with Nature: Take nature walks and discuss the science behind what you see, from cloud formations to plant growth.
Additional Resources
Here’s a list of reliable resources for educational family fun, focusing on scientific curiosity:
- National Geographic Kids – A website offering a wide range of educational content for children, including articles on animals, science, history, and more.
- Science Buddies – A website providing science fair project ideas, step-by-step guides, and various STEM learning resources for students.
- The Everything Kids’ Science Experiments Book by Tom Robinson – A book featuring dozens of mind-blowing, kid-tested science experiments using household items.
- Local science museums or nature centers – These offer hands-on learning experiences and interactive exhibits. Some examples include:
- The Field Museum in Chicago, Illinois
- Mississippi Museum of Natural Science in Jackson, Mississippi
- Science Museum of Minnesota in Saint Paul, Minnesota
- Discovery World in Milwaukee, Wisconsin
Remember, every question is an opportunity for discovery, and every experiment is a chance to learn together. Keep exploring, keep questioning, and most importantly, keep having fun with science!
FAQs
Here are some common questions parents might have about conducting science experiments at home, along with brief answers:
1. Are these experiments safe for young children?
While these experiments are designed to be family-friendly, adult supervision is always required. Each experiment has specific safety considerations, which we’ve outlined. Always read through the instructions completely before starting, and adjust as needed for your child’s age and abilities.
2. What if we don’t have all the materials for an experiment?
Don’t worry! Many of these experiments can be adapted using similar household items. For example, if you don’t have a glass jar, a clear plastic cup might work. Feel free to get creative, but always prioritize safety.
3. How can I encourage my child who seems uninterested in science?
Try connecting experiments to your child’s interests. If they love art, focus on color-changing experiments. For sports fans, explore physics through ball games. Remember, science is everywhere – find the angle that excites your child.
4. What should we do if an experiment doesn’t work as expected?
Congratulations! You’ve just experienced real science. Discuss what might have gone wrong and brainstorm solutions. This problem-solving process is a valuable part of the scientific method and teaches resilience.
5. How can we extend learning beyond these experiments?
Encourage questions and further exploration. Visit your local library for books on related topics. Many science museums offer virtual tours or at-home experiment kits. You can also look for age-appropriate science documentaries or YouTube channels dedicated to kids’ science.
